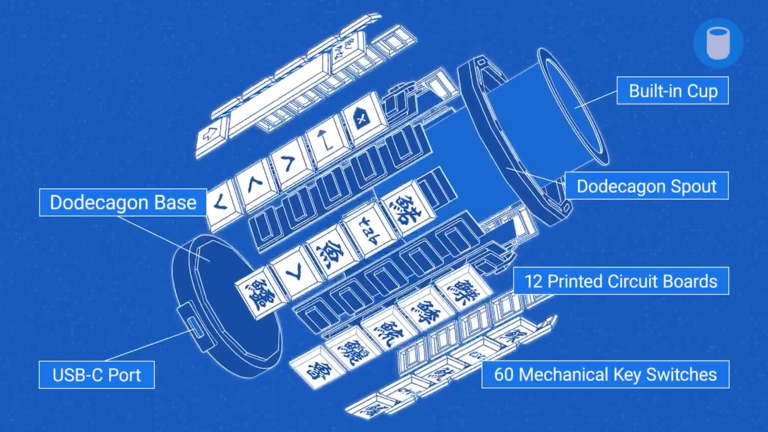
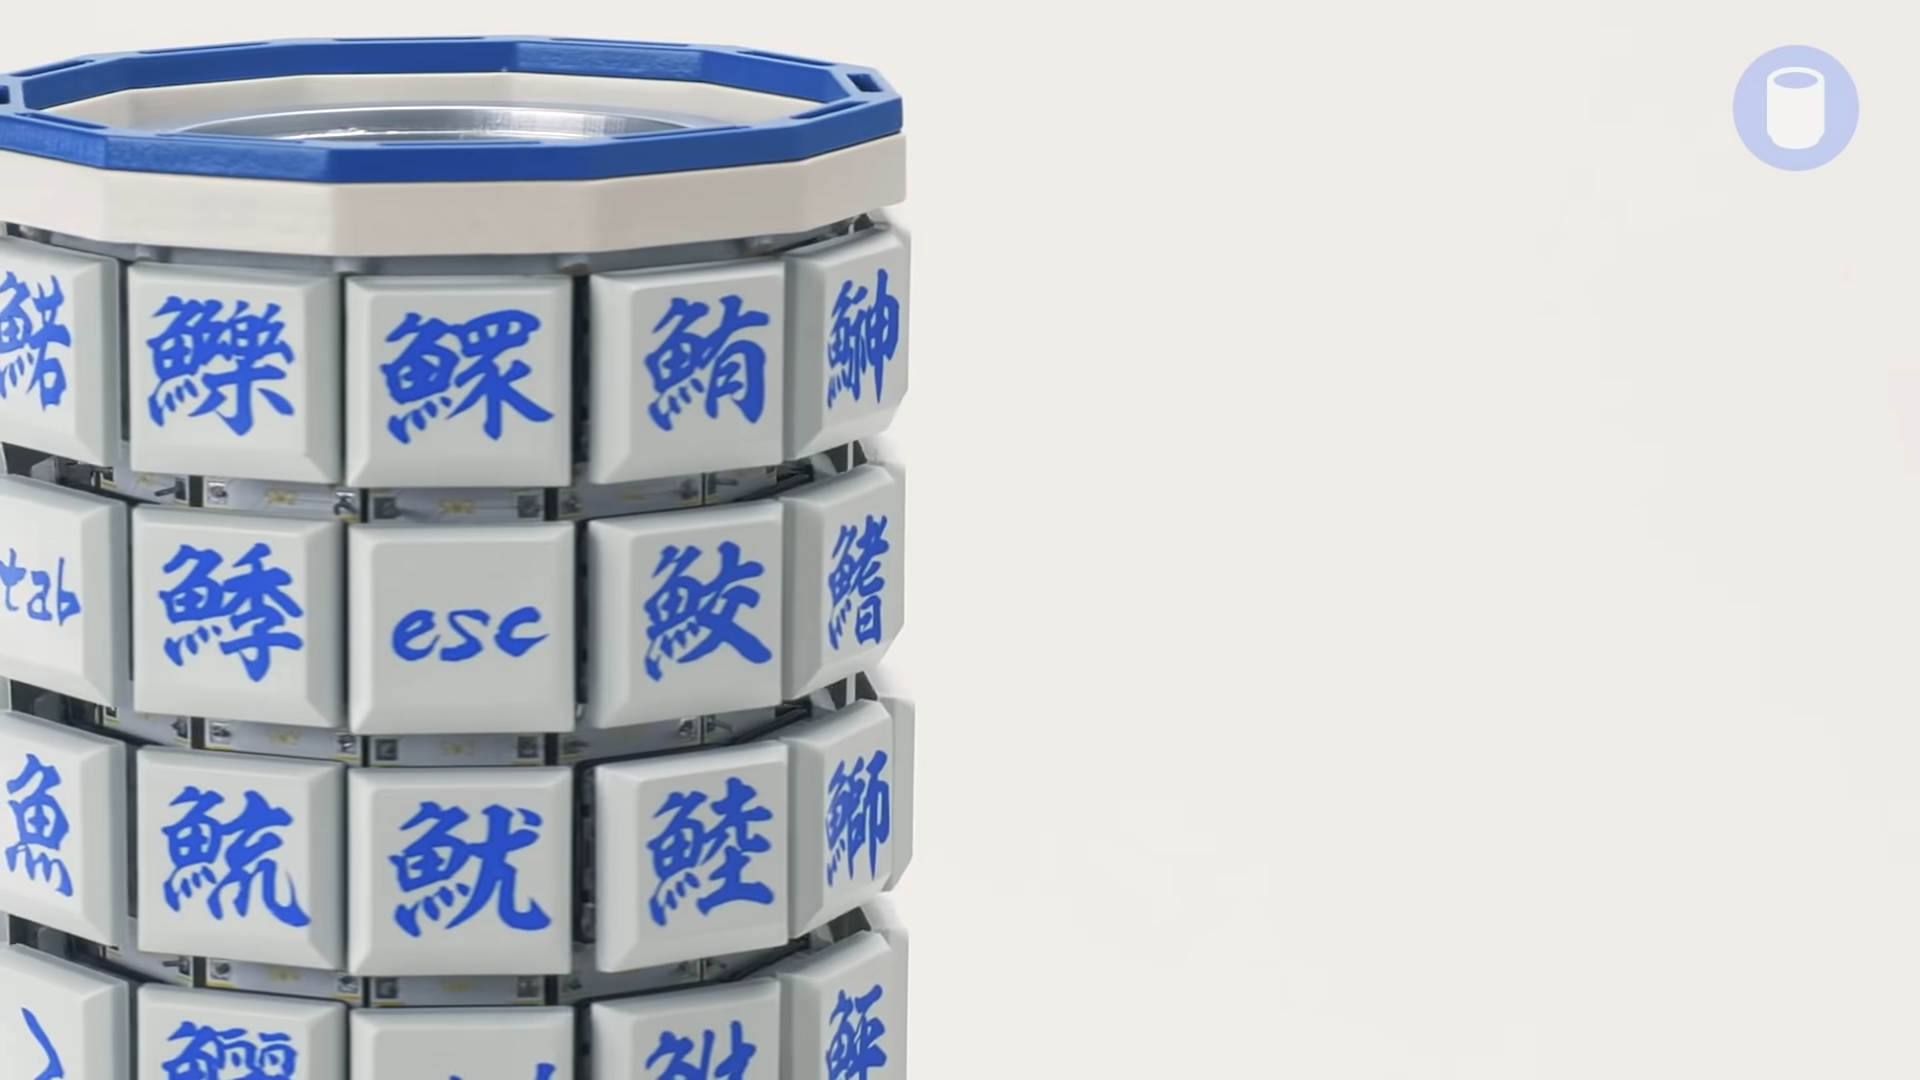
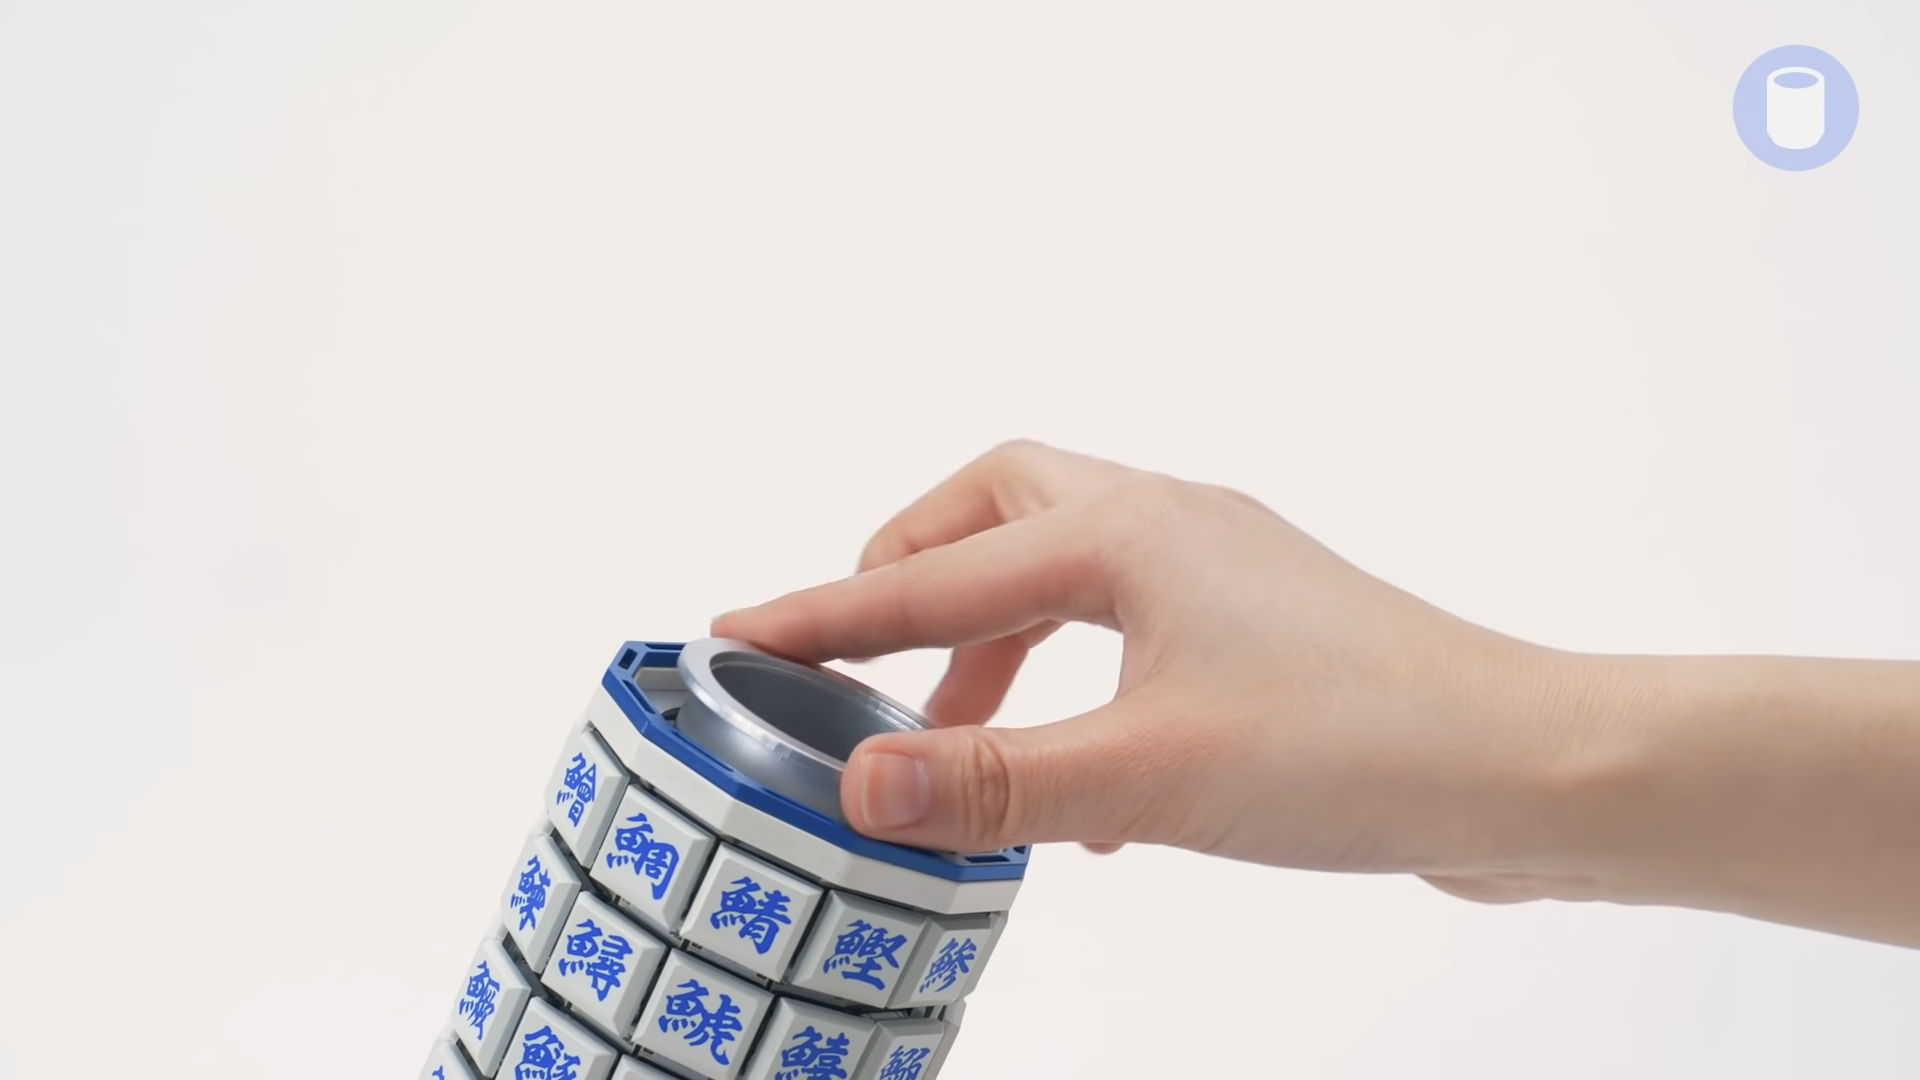
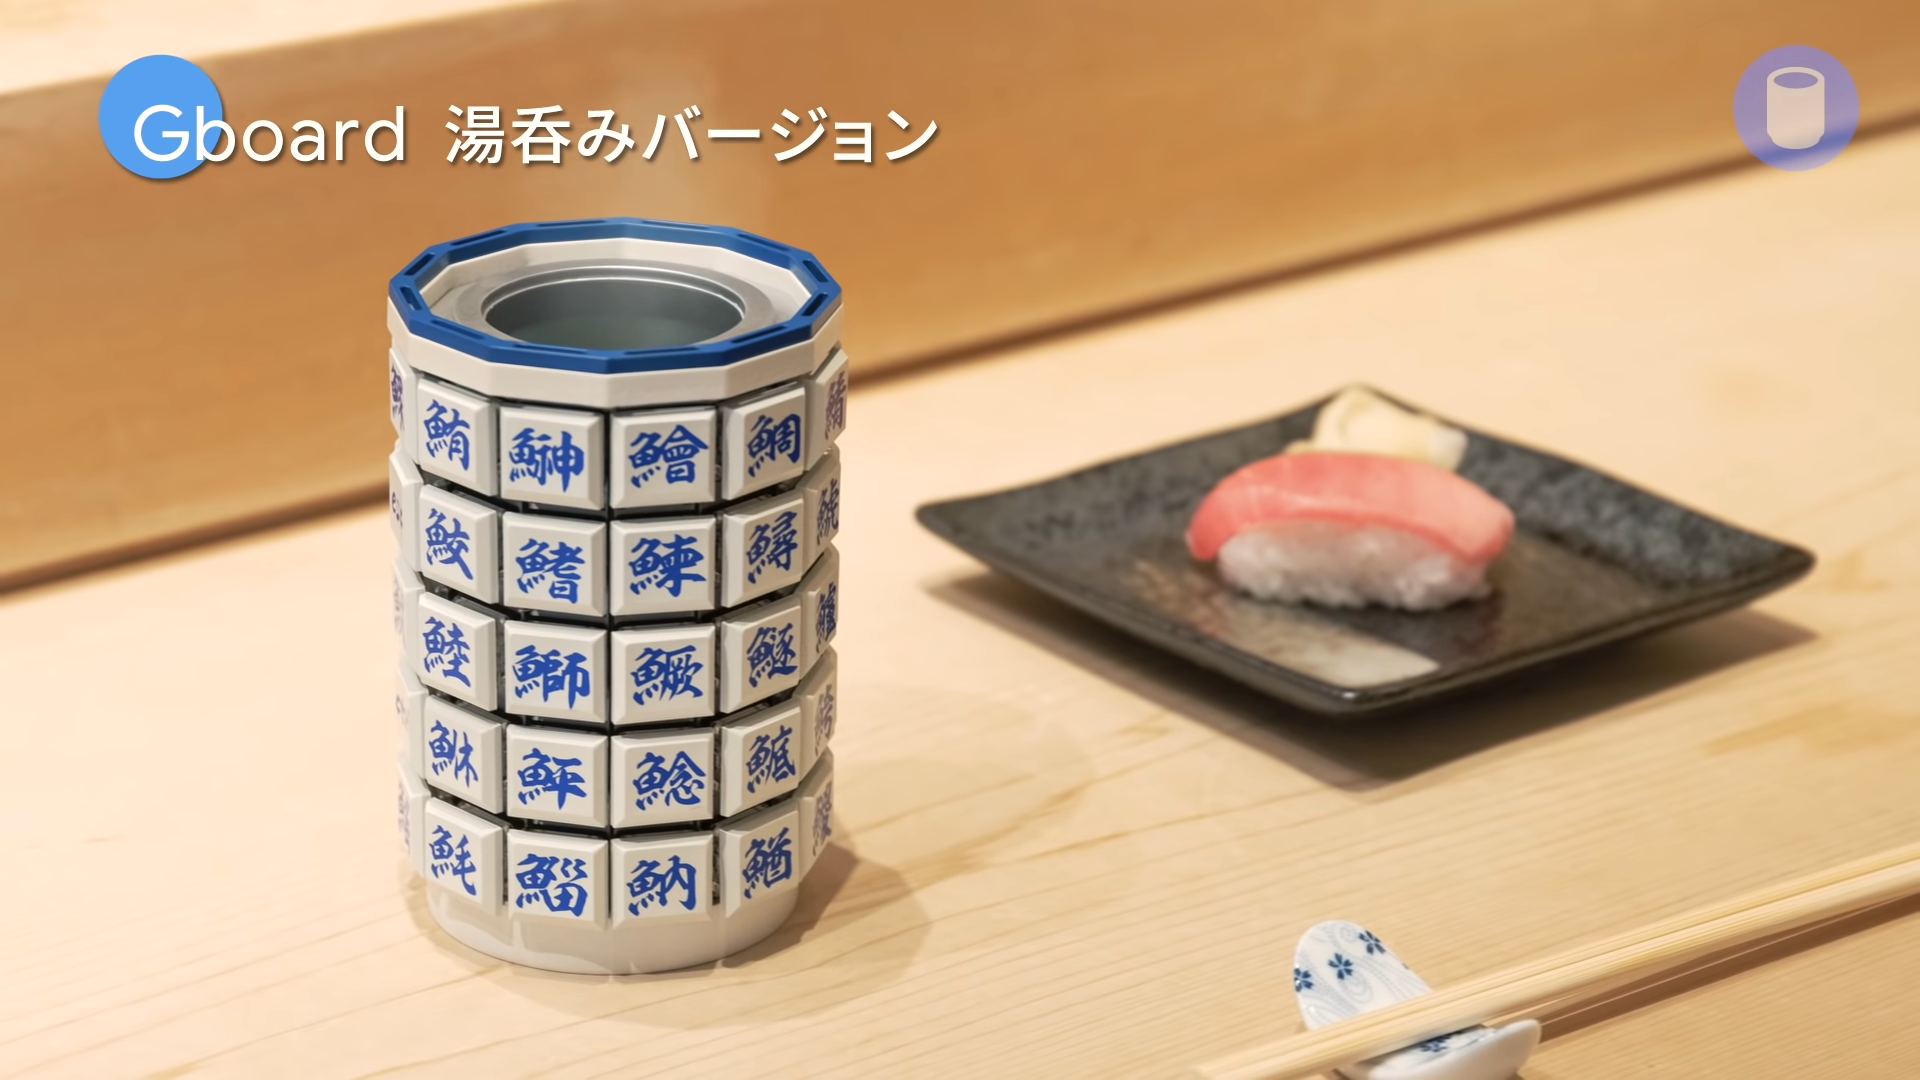
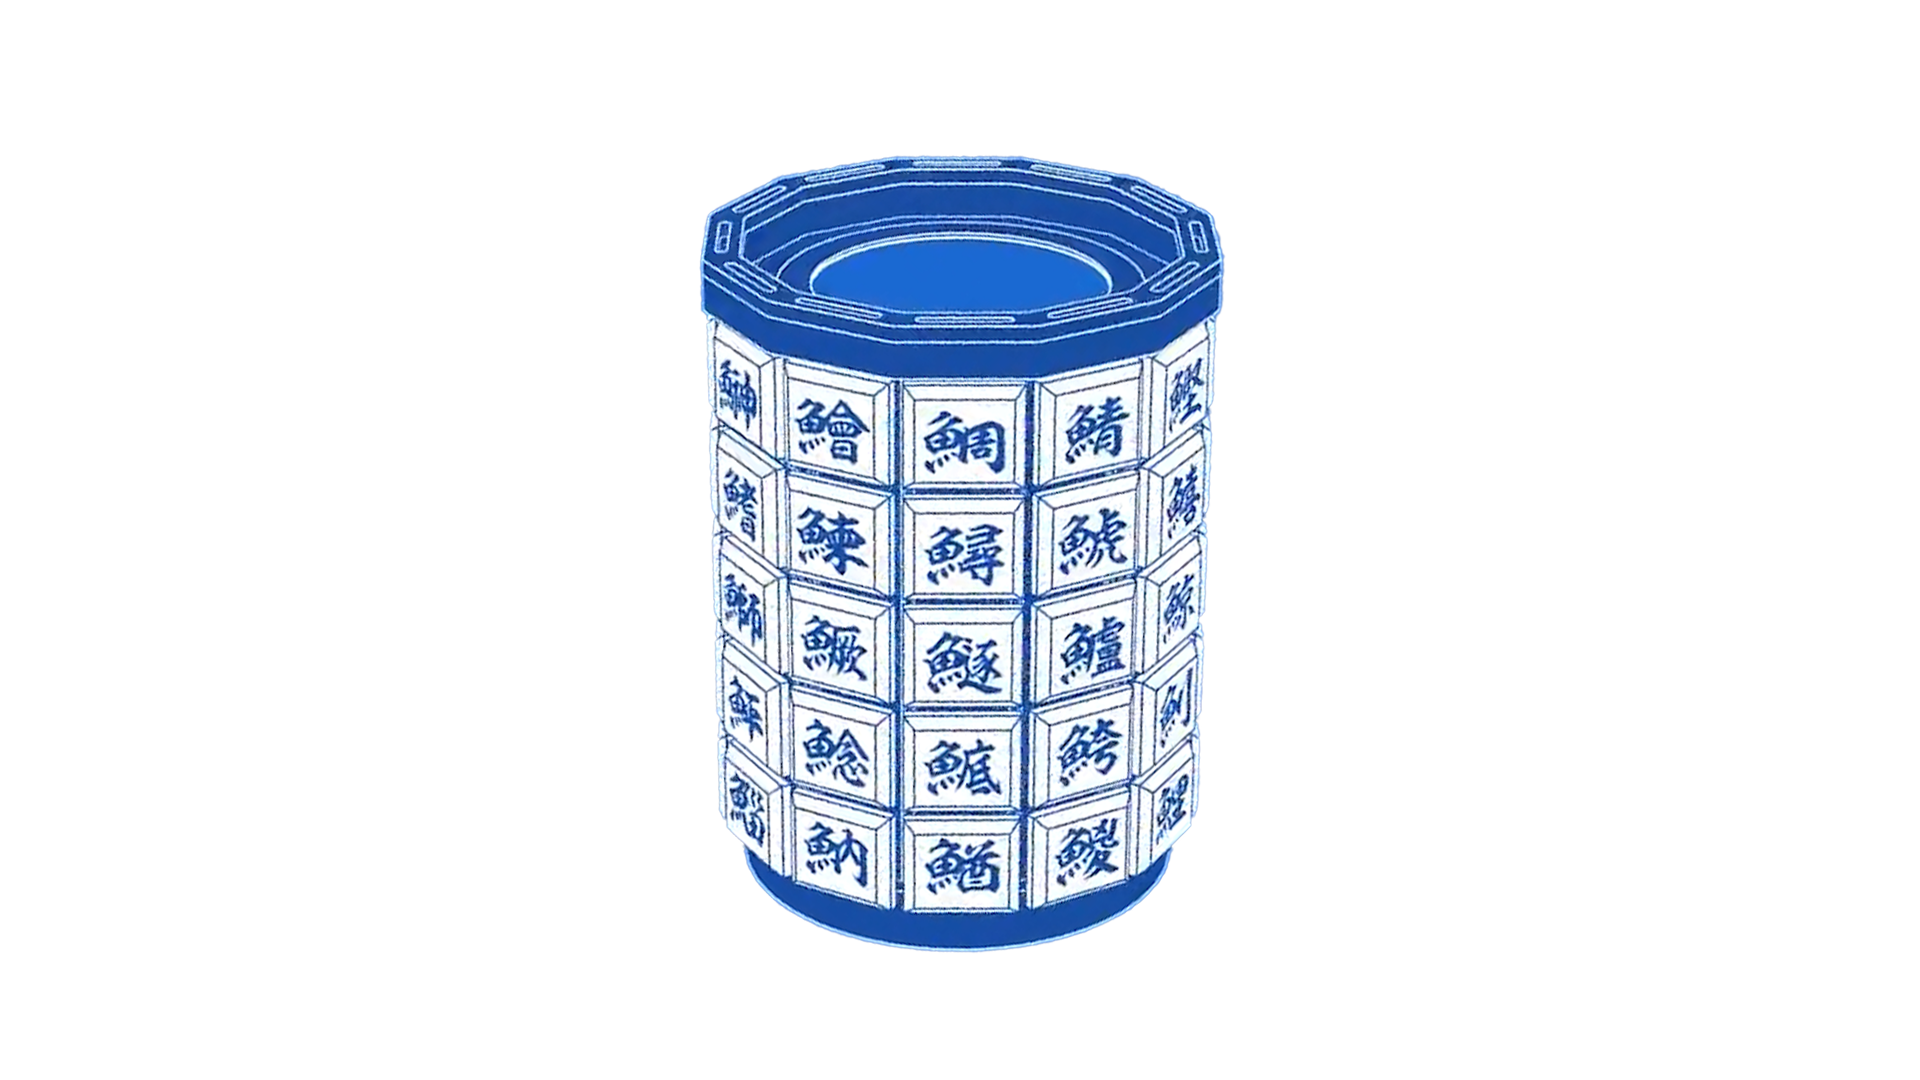
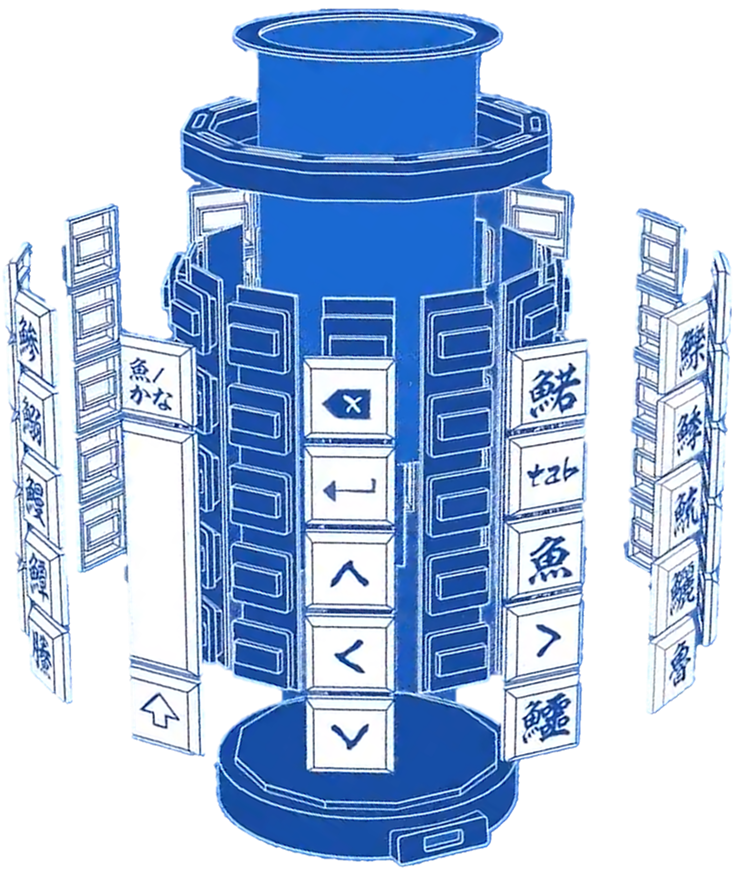
In 2021, Google released a unique design project called Gboard 湯呑みバージョン. When I saw this interactive combination of a keyboard and tea, I found it quite novel and intriguing. It’s an interesting concept that blends the idea of a keyboard with the traditional Japanese tea culture.
開源資料 Open source
為了實現鍵盤輸入的功能,不可避免的一定會使用到PCB板,並且還有電子零件
然而在google開源的Github說明網頁中,清楚的了解了,所有需要的材料
To achieve keyboard functionality, it’s inevitable to use a PCB board and electronic components. However, in the GitHub documentation provided by Google, all the materials needed are clearly outlined.
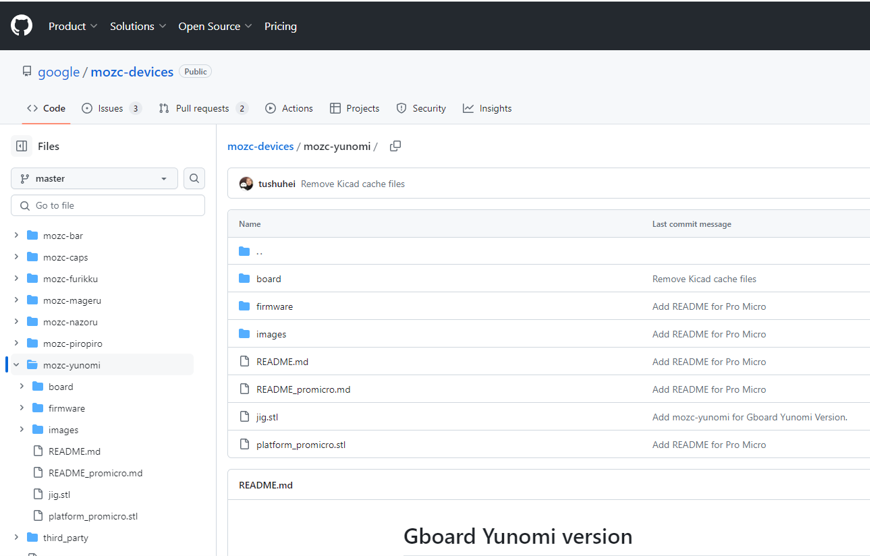
However, using this GitHub data to create a Gboard can be challenging for those unfamiliar with PCB fabrication methods. It’s difficult to discern which files are used for making the circuit board or how to convert them into Gerber files that PCB manufacturers can accept.
Nevertheless, we can understand the contents of each folder from the contents below. I think we need to have the circuit board ready before we can start this project, so let’s start with the board file.
Contents
The directory structure is as follows:
firmware/ : Arduino sketch.
board/ : KiCad schematics and PCB layouts.
jig.stl : A jig for building the keyboards.
../third_party/mozc-yunomi/keyswitches.pretty : Footprint data for the key switches.
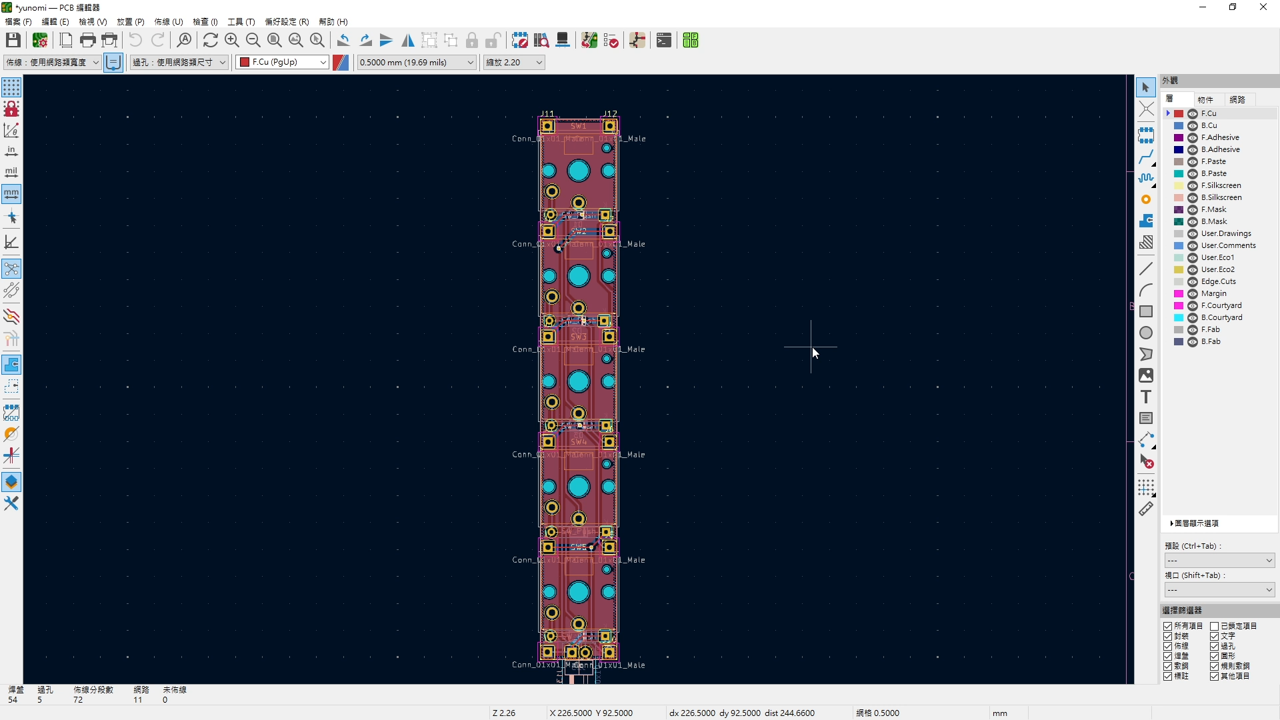
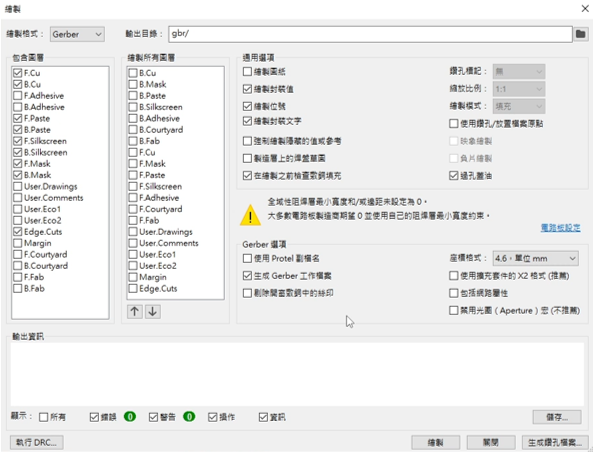
After downloading the files from GitHub, we used KiCad to open the PCB project and then converted it into Gerber files suitable for PCB manufacturers.
I’ve converted the files for the key project into Gerber format and made them open-source for you to freely download and use:
https://gensou.pse.is/Gboard_Soup_Version_key_OA
In the open-source files I provided, there are three types of files:
1. Gerber files for the key project: – gboard_Yunomi_key_gerber.rar
2. Bill of Materials (BOM) for PCBA assembly using different types of switches: – Linear switch: PCBA file / Linear_key_BOM.xlsx – Clicky switch: PCBA file / Clicky_key_BOM.xlsx – Tactile switch: PCBA file / Tactile_key_BOM.xlsx
3. PCBA material placement table: – key_CPL.xls
PCB & PCBA 下單方式 (JLCPCB為例) Ordering Process for PCB & PCBA (Using JLCPCB as an Example)
PCB部分 PCB Section
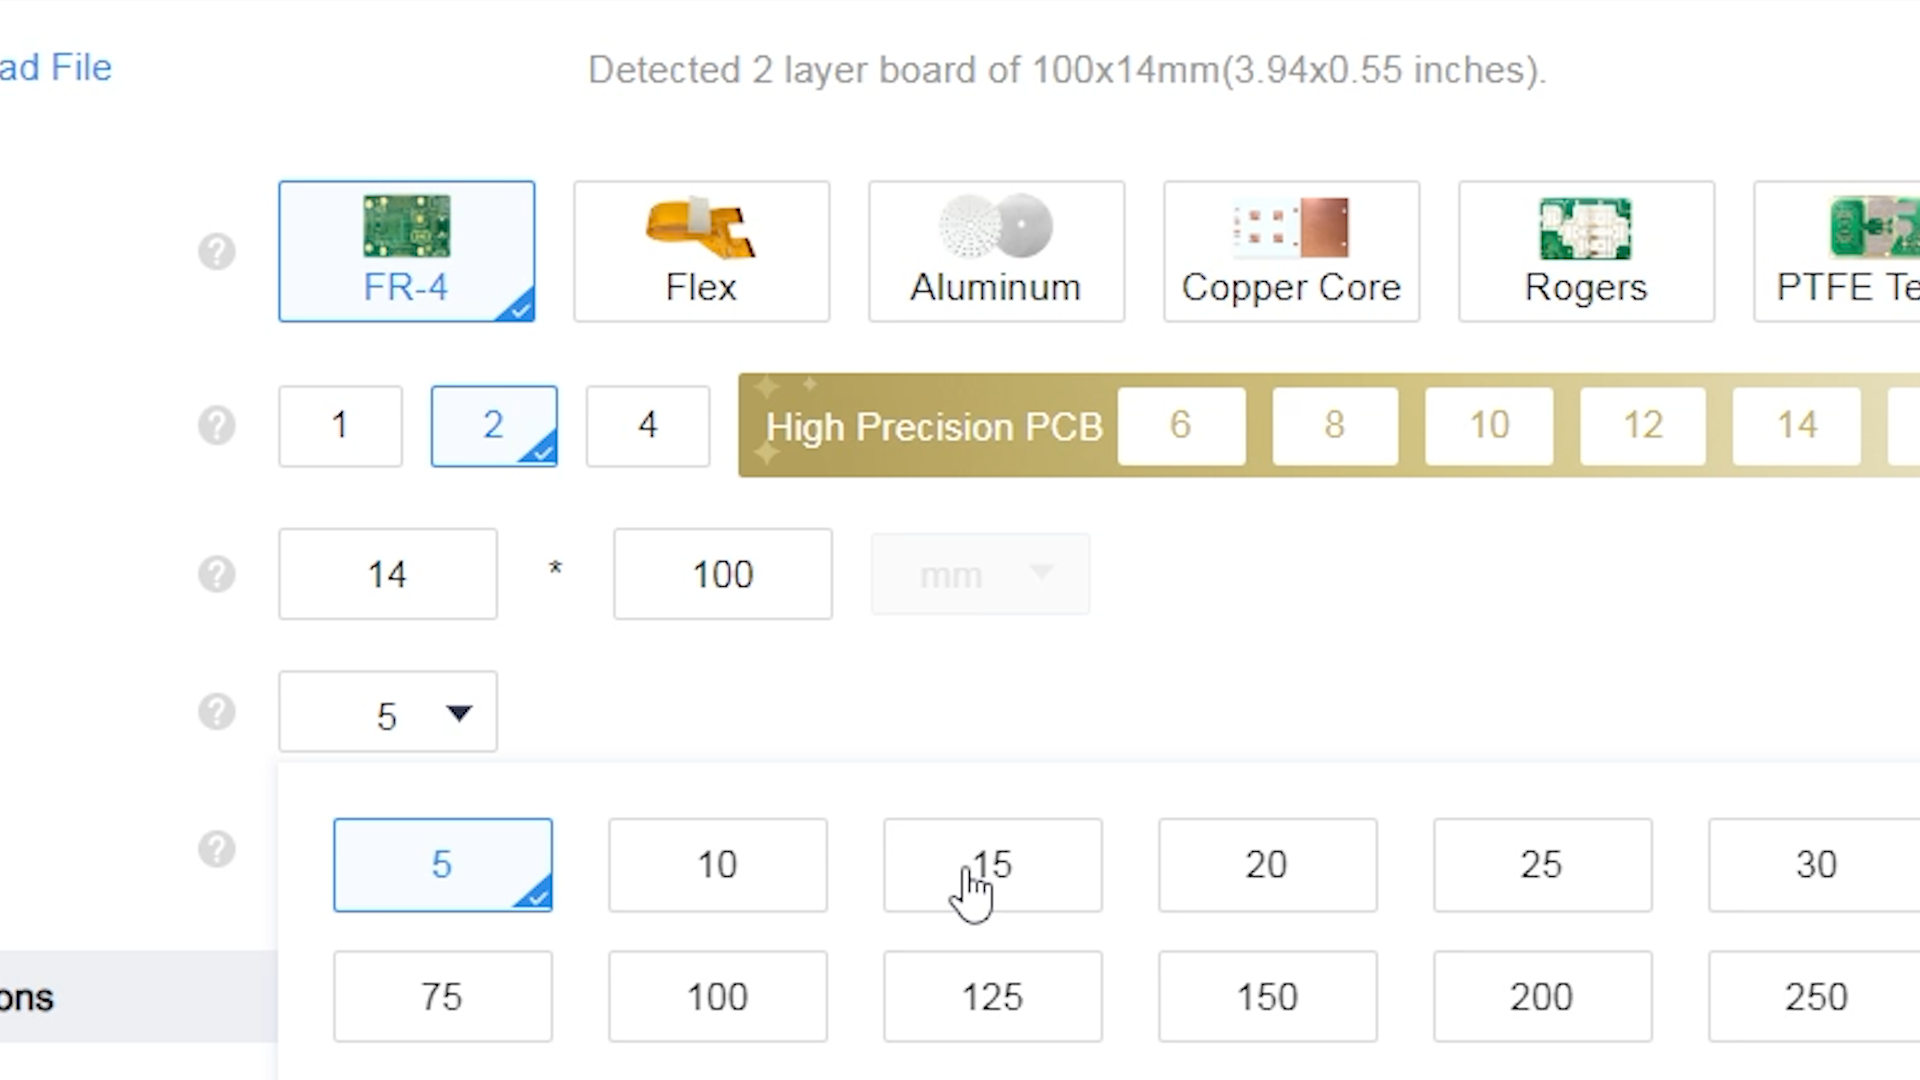
使用JLCPCB的服務來製作key這塊PCB,將Gerber檔案上傳至JLCPCB網站
Using JLCPCB’s service to manufacture the key PCB, upload the Gerber files to the JLCPCB website.
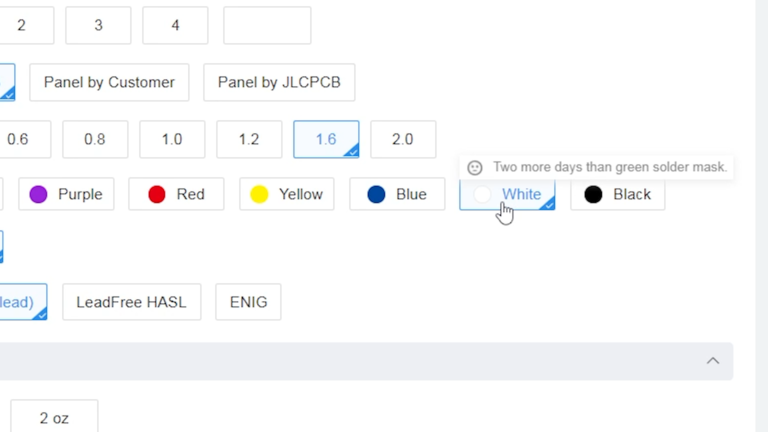
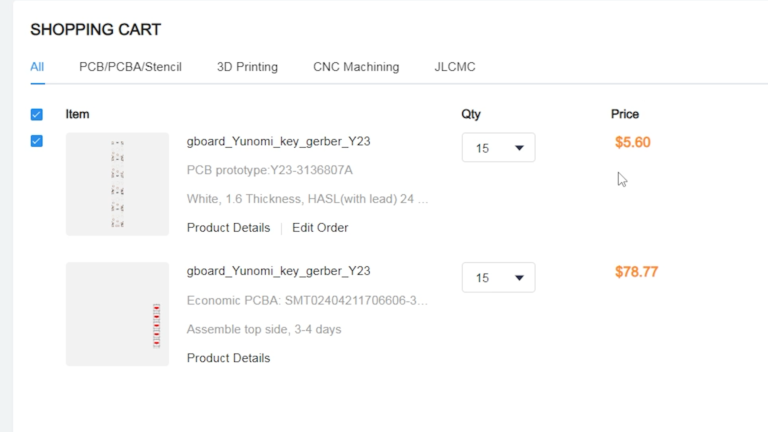
在Github中有提到PCB板的數量是12片,因此選擇大於12片的選項,這裡我選擇的是15片
The GitHub documentation mentions that the quantity of PCBs is 12, so I selected the option for more than 12 PCBs. Here, I chose 15 PCBs.
顏色可自由選擇,我選擇與github相同的白色
You can freely choose the color. I chose white to match the color mentioned in GitHub.
PCBA部分 PCBA Section
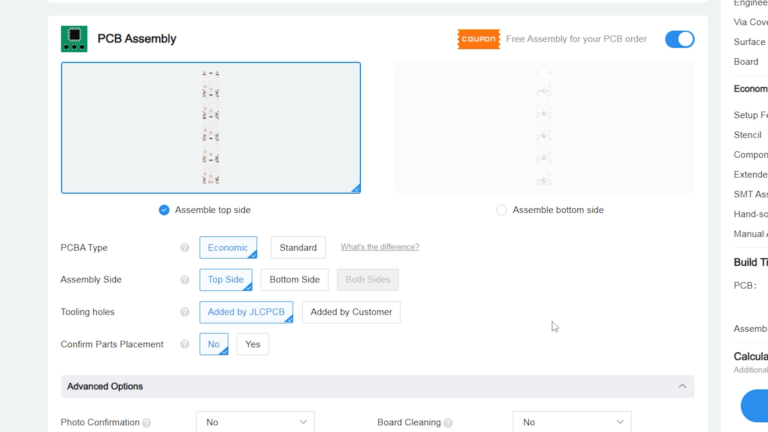
我希望我的零件可以由JLCPCB購買,並且幫我安裝在PCB板上與焊接,所以我選擇使用PCBA的服務
打開PCBA的服務選項,就可以按下NEXT
I would like my components to be purchased from JLCPCB and assembled and soldered onto the PCB, so I chose to use the PCBA service.
Open the PCBA service option, and then click on NEXT.
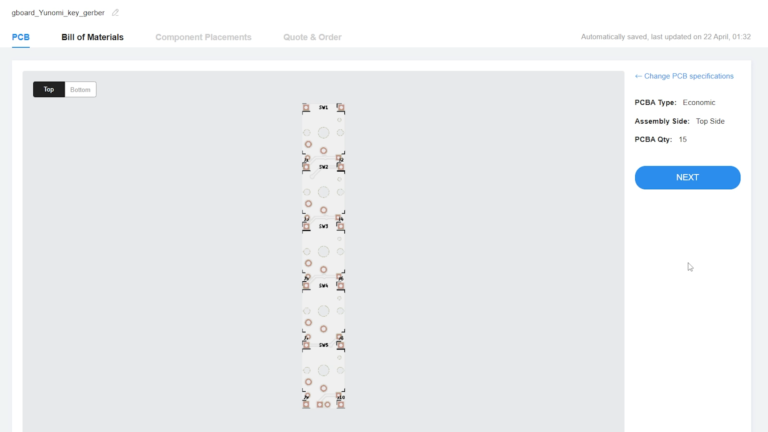
這一步,檢查PCB板的設定是否正確,這包刮了顏色大小等等的資訊,在確認沒問題後就可以下一步了
In this step, check if the PCB settings are correct, including color, size, and other details. Once you’ve confirmed everything is correct, you can proceed to the next step.
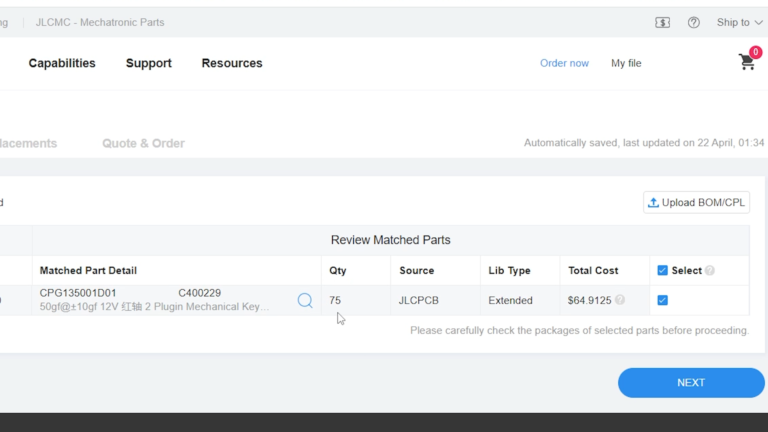
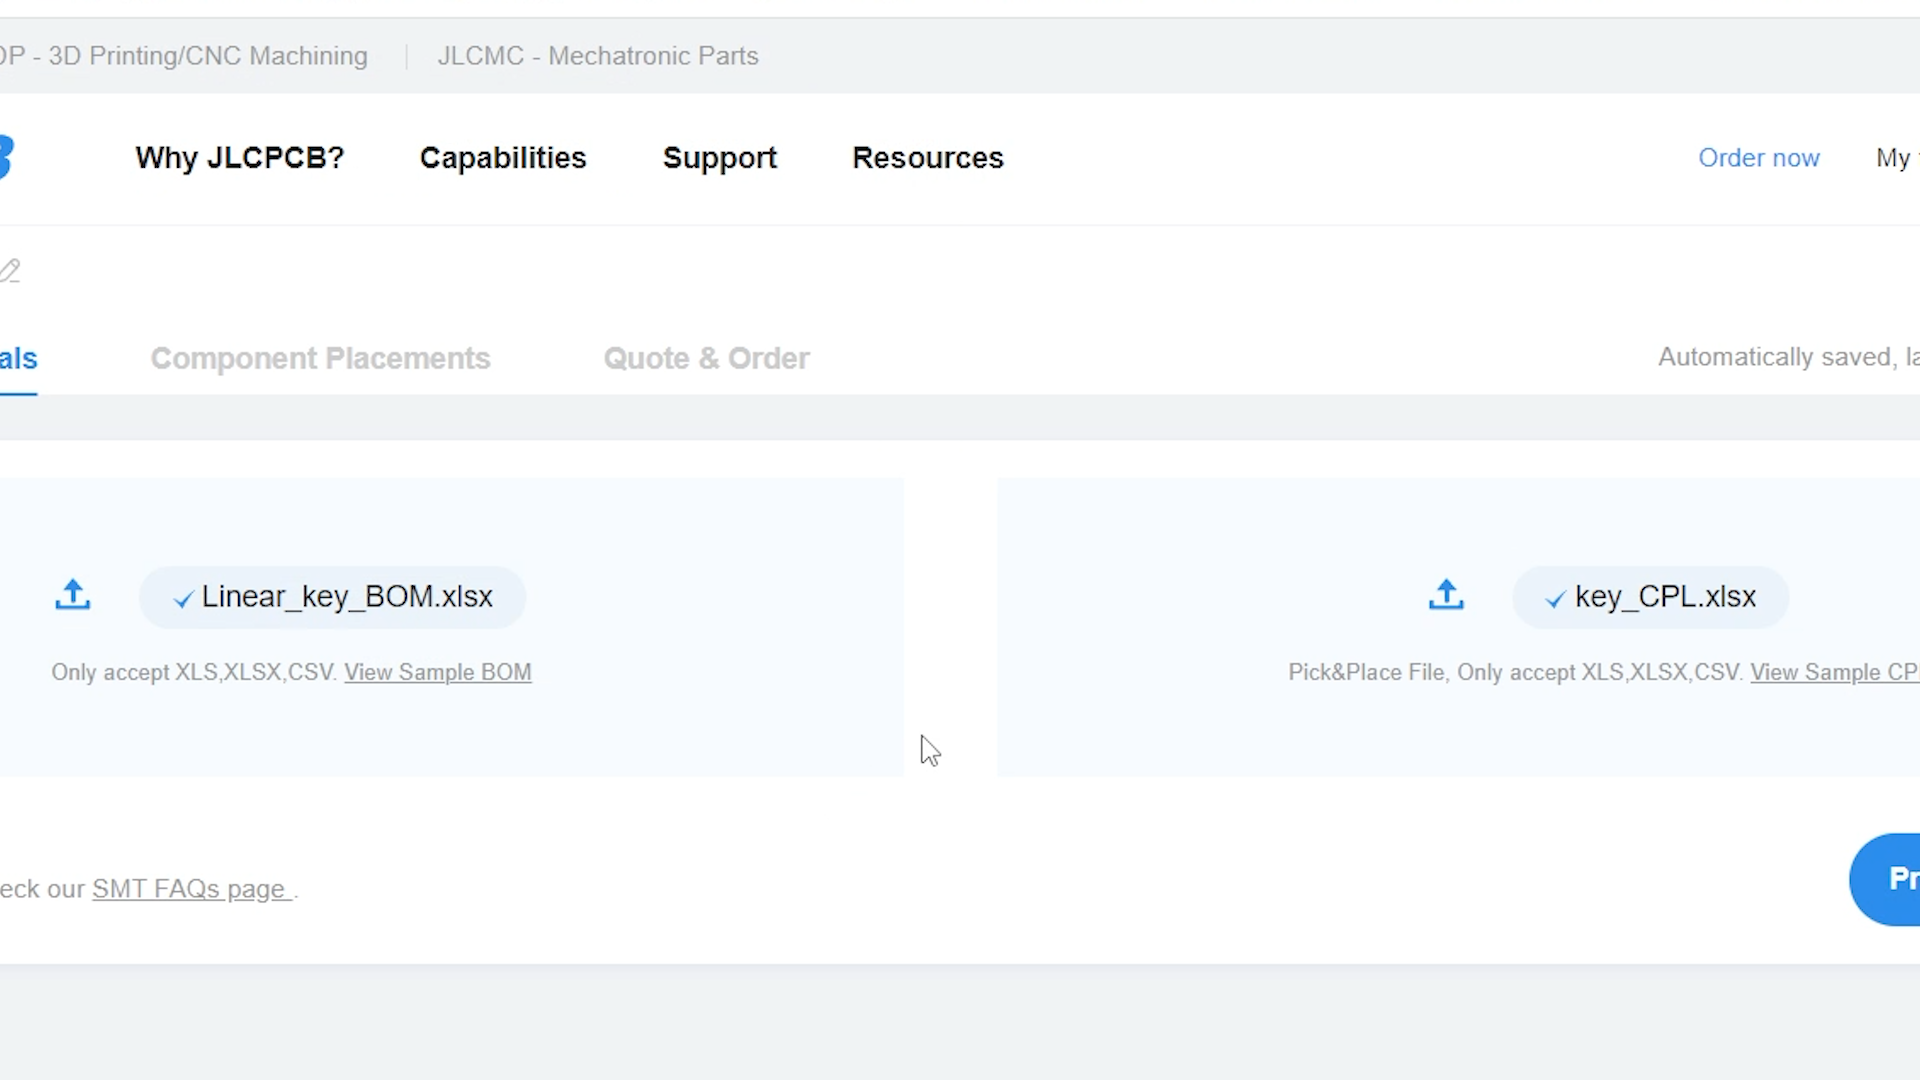
For the PCBA service, you need to provide two files to JLCPCB: the Bill of Materials (BOM) and the Component Placement List (CPL). These files are available in the open-source files.
確認使用材料與材料金額沒有問題後,就可以下一步了
Once you’ve confirmed that there are no issues with the materials and the material cost, you can proceed to the next step.
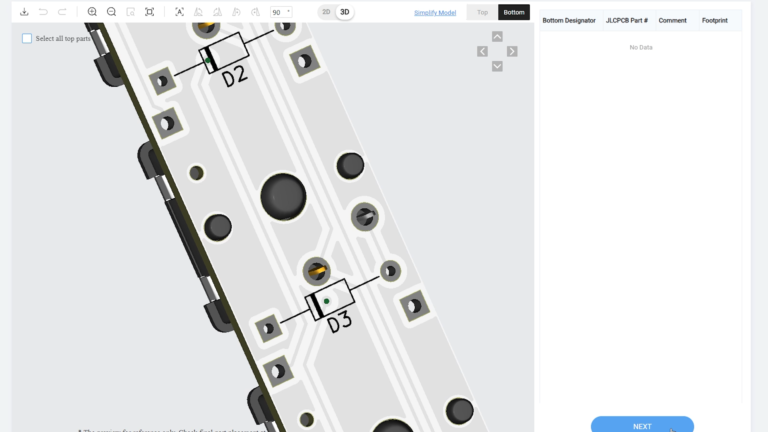
檢查零件是否有正確的在該有的位置上,可以開啟3D進行檢查。如果沒問題就可以下一步。
Check if the components are correctly placed in their respective positions by opening the 3D view for inspection. If everything looks good, you can proceed to the next step.
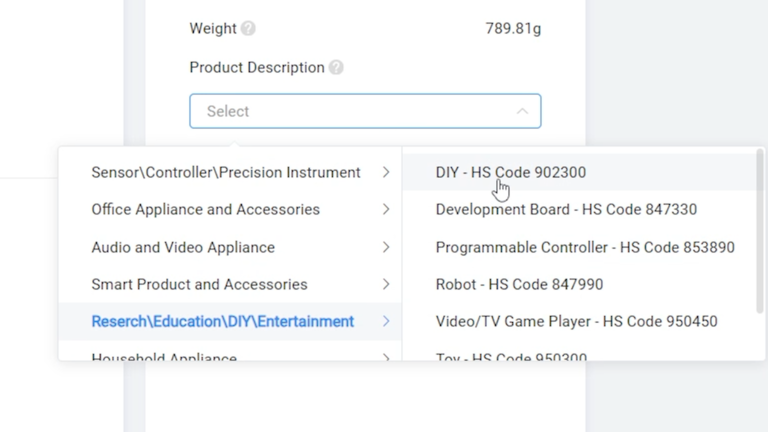
選擇使用用途,我這裡選擇DIY使用。
Select the intended use. Here, I chose DIY use.
如果下單資料都正確,就可以進入付款環節了。
If all the order details are correct, you can proceed to the payment step.
品質檢查與測試環節 Quality inspection and testing phase
PCB板到手後,就開始對於生產的品質還有功能是否正常,這兩項開始檢查了
品質檢查(QC Cheak)
主要檢查
電路板的外觀還有PCBA黏貼的按鍵 (正常)
是否有正確的貼合在正確的位置上 (正常)
零件與電路板之間是否有空隙的檢查 (正常)
After receiving the PCB, I began checking the quality and functionality of the production.
Quality Check (QC Check):
Mainly checked:
The appearance of the circuit board and the buttons attached to the PCBA (checked)
Whether they are correctly adhered to the correct positions (checked)
Checked for gaps between components and the circuit board (checked)
功能檢查(Functional testing)
主要檢查
按壓按鍵是否正確導通 (正常)
Mainly checked:
Whether pressing the buttons correctly results in conduction (checked)
哈囉大家好,我是旭豐,也可以叫我旭豐老師。
我主要教導學生如何使用Arduino來控制各種東西,讓他們能夠學會使用物理計算和IPO模型來進行互動設計。另外,我也在我的YouTube頻道分享各種教學內容,從基本的Arduino操作、模組使用,到PCB的製作和PCBA的應用等等。希望能夠透過這些分享,幫助更多人學習到有趣的技術和知識!
Hello everyone, I'm Teacher Hsu-Feng. I teach students how to use Arduino to control various outputs and guide them in using physical computing and the IPO model for interactive design. I also share tutorial content on my YouTube channel, including basic Arduino, module usage, PCB fabrication, and PCBA applications.


